How to Replace Catlytic Converters _A Guide

January 9, 2023

Catalytic Converters, Parts Replacement

Mechanic working under a car, wearing glasses and gloves. He's on the ground, using tools near a tire.

Catalytic converters are vital components. While your wheels will still turn without them, Texan laws make them a compulsory attachment to your exhaust.   Your car’s catalytic converter is an emission control device. Its role is to convert all the toxic gases that exit your combustion engine into something less polluting using chemicals such as platinum, rhodium and palladium.   There are a few reasons you may need to know the ins and outs of catalytic parts replacement. Firstly, your catalytic converter may have naturally worn; secondly, it may have been faulty from production; and thirdly, it may have been stolen. In fact, it’s the chemicals inside the catalytic converters that make them a high target for theft.   Replacing catalytic converters can be complex, which is why we’d always stress for ya’ll to come into the DACC shop for professional mechanical help. Although, if you are determined to try it yourself, here are ten steps.  
  1. Raise Your Vehicle Off the Ground
  The first step is to get your entire vehicle off the ground; high enough for you to slide comfortably underneath and work securely. Unlike a tire replacement, a catalytic converter is directly underneath the trunk of your car, meaning you’ll need to use multiple jacks or a lift on a level surface to complete this type of parts replacement.  
  1. Locate Your Catalytic Converter
  After you’ve raised your vehicle, go to the rear end and slide underneath. Here, you should be able to locate your exhaust system. That’s where you’ll find your catalytic converter. Typically, it’ll be a rectangular box in the middle of the exhaust system but it can also be cylindrical in shape.  
  1. Remove the Two O2 Sensors
  Every car built after 1996 will have two oxygen sensors; one before the catalytic converter and one after. Their job is to monitor the exhaust system’s efficiency. To access your catalytic converter, you’ll need to remove these with an oxygen sensor socket and wrench.  
  1. Use a Wrench or Sawzall to Remove the Catalytic Converter
  Catalytic converters are either flanged or welded into place. If your part is flanged, you’ll likely need to apply penetrating oil to loosen up any partially-corroded bolts. Allow the oil to lubricate for several minutes before using a wrench to manually remove the part. Otherwise, use a sawzall or a similar tool to cut the welded sections.  
  1. Sand the Surrounding Flanges and Pipe Ends
  Now your old catalytic converter has been removed, you need to prep the area for the new part. This is a crucial step for most car parts replacement guides. This will ensure the new part securely connects with your car and there will be no exhaust leaks. To do this, use sandpaper to deburr the flanges and pipe ends/cut zones.  
  1. Read the Catalytic Parts Replacement Instructions
  Not all catalytic converters are exactly the same. Neither are vehicles. Because of this, it’s best to always read through the instructions before you begin catalytic parts replacement. If you’re ever in doubt, consult your trusted Texas dealership. Be sure to find professional mechanics and ASE-certified technicians to provide tips.  
  1. Line Up Your New Catalytic Converter
  New catalytic converters need to be installed a certain way around and with matching pipe sizes. There should be an arrow on the part to indicate which way it should face as these components are directional. If a new catalytic converter is installed backwards, the flow direction will be reversed and the part will quickly break.  
  1. Bolt or Weld The New Part in Place
  Both the instructions and the available parts in your car will inform you of whether or not your new catalytic converter will need to be welded or bolted into place. In either circumstance, it’s vital you take precautions and use professional-grade tools. When you’re ready, always start with the front (the end furthest from the exhaust).  
  1. Re-Attach Your Two O2 Sensors
  With catalytic parts replacement, you’re not finished when the new part is in. In one of the first steps, your two O2 sensors were removed; you need to re-attach them to either end of your converter. When you do, ensure all wiring is not damaged as this may lead to a false “check engine” notification on your dash.  
  1. Check for Exhaust Leaks
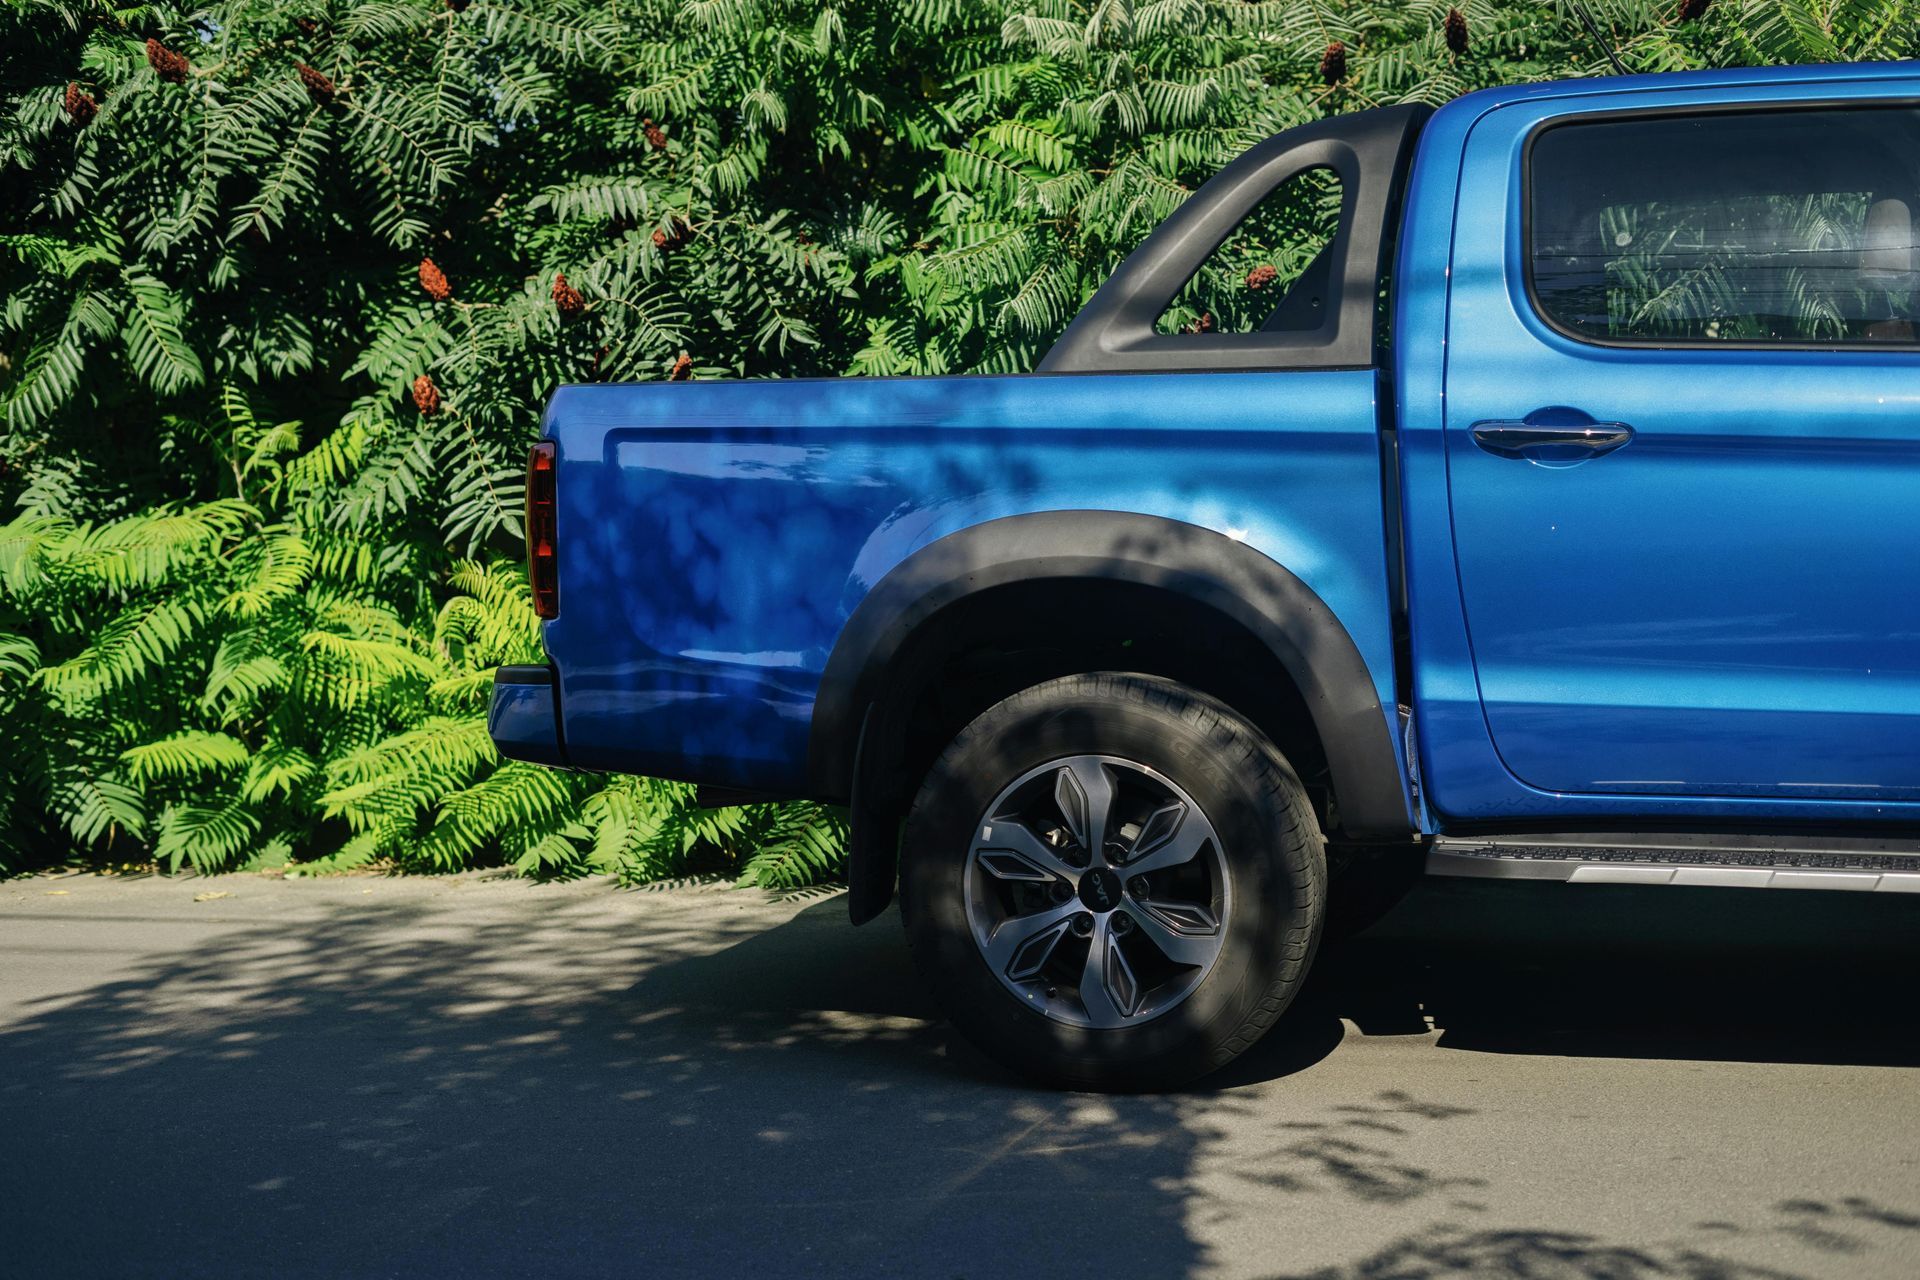
  The final step is to ensure all parts are securely in place and there are no leaks in emissions before you head out onto the highway. Start your engine and listen out for any unusual noises. Then, jack the rear of your car, start it in park and slowly run a lighter down the piping of your exhaust. Gas leaks will cause your flame to waver.   And that makes all ten steps of how to replace catalytic converters. It’s important we say that working on the replacement of your engine’s exhaust or any of its attachments like your catalytic converter can be very dangerous. If you are looking to do catalytic parts replacement yourself, be sure to have all the right equipment and protective gear. For example, suitable jacks, eyewear and gloves.   When you’ve finished replacing your catalytic converter, there are more advanced tests that need to be done using autobody shop tools. These will include temperature tests, CO2 tests, smog tests and oxygen storage tests.   If you want advice, new converter testing or full catalytic converter replacement, contact our specialized team at Dealership Autoplex Collision Center, today. Either call us at (972) 242-0092, visit our website or come straight to our shop here in Carrollton, TX.   Replacing the Stolen Catalytic Converters in Texas 4 Reasons for the Parts Shortages Throughout Texas How an I-CAR Certified Technician Means Key Care for Your Car

April 8, 2026
The Quality and Accountability Behind the Guarantee When choosing a collision repair center, one of the most reassuring promises a customer can receive is a lifetime warranty. At first glance, the concept is simple. The repair is guaranteed for as long as the customer owns the vehicle. However, the value of that warranty depends on what supports it behind the scenes. Understanding what goes into a lifetime warranty can help drivers recognize the level of quality and accountability required to offer one. A Warranty Reflects Confidence in Workmanship A lifetime warranty is not just a customer benefit. It is also a reflection of how a collision center approaches its work. Shops that offer long-term guarantees must be confident that their repairs will hold up over time. This confidence is built on: Consistent repair procedures Skilled technicians Reliable materials and parts Without these elements, offering a lifetime warranty would not be practical. The commitment signals that the shop stands behind its work beyond the immediate repair.
April 4, 2026
 What Drivers Should Know After Filing a Claim After a car accident , one of the first steps many drivers take is filing an insurance claim . Shortly after, an estimate is often provided outlining the expected cost of repairs. While this estimate is an important part of the process, it is not always the final word on what it will take to fully restore a vehicle. Understanding the difference between an initial insurance estimate and the actual repair cost can help set realistic expectations and reduce confusion during the repair process.
March 25, 2026
 Preserving Car Value with High-Quality Collision Repair For many drivers, a vehicle is one of the largest investments they make. Whether the plan is to trade it in, sell it privately, or simply maintain its value over time, resale value is an important consideration. After an accident, one of the most common concerns is how collision repair will affect that value. While accidents can impact resale potential, the quality of the repair plays a significant role in determining how much value is preserved. Professional collision repair, performed correctly and with attention to detail, can help maintain both the appearance and structural integrity of a vehicle.
More Posts