

The 5 Stages of Wheel Detailing
October 17, 2022
Wheel Detailing, Auto Detailing
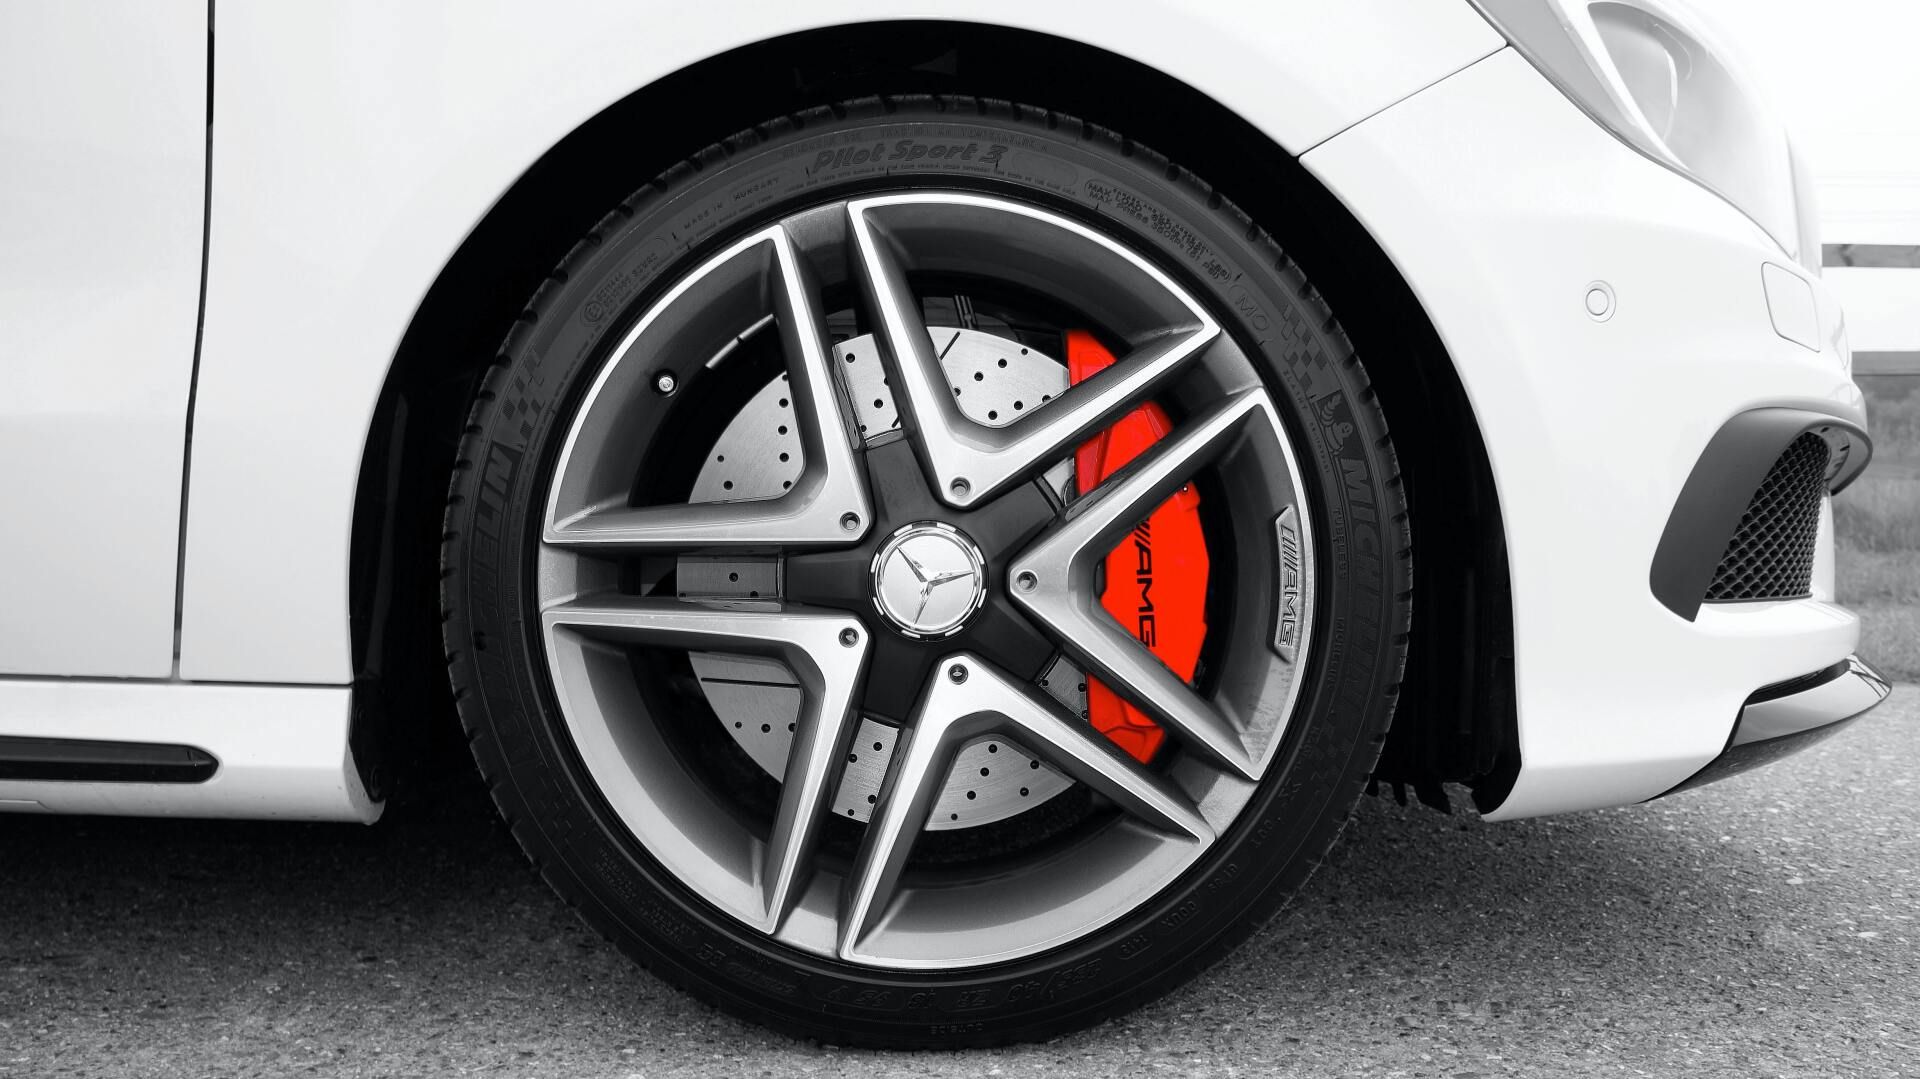
Auto detailing is more than just bringing the shine back to your motor’s smile. For wheel detailing, specifically, it's a preventative care measure.
Every time you drive your car, you’re - presumably - breaking. And, every time you break, microparticles of iron, carbon, adhesive, paint and other fibers are shaved off. This creates break dust that settles on your wheels, causing them to pit and corrode through time.
So, maintaining your car with wheel detailing can save you downtime and repair costs down the line no matter whether you have rims or hub caps.
Because of this, our auto detailing team has gathered to bring you 5 stages of wheel detailing for your own vehicle. Or, to at least check they're getting the due care and attention they need when you take it to a detailing shop!
- Step 1: Remove Caked-On Brake Dust
- Step 2: Clean Your Wheels and Tires
- Step 3: Dry Your Wheels Carefully
- Step 4: Wax Each Wheel for Protection
- Step 5: Add Pizazz With Black Tire Gel
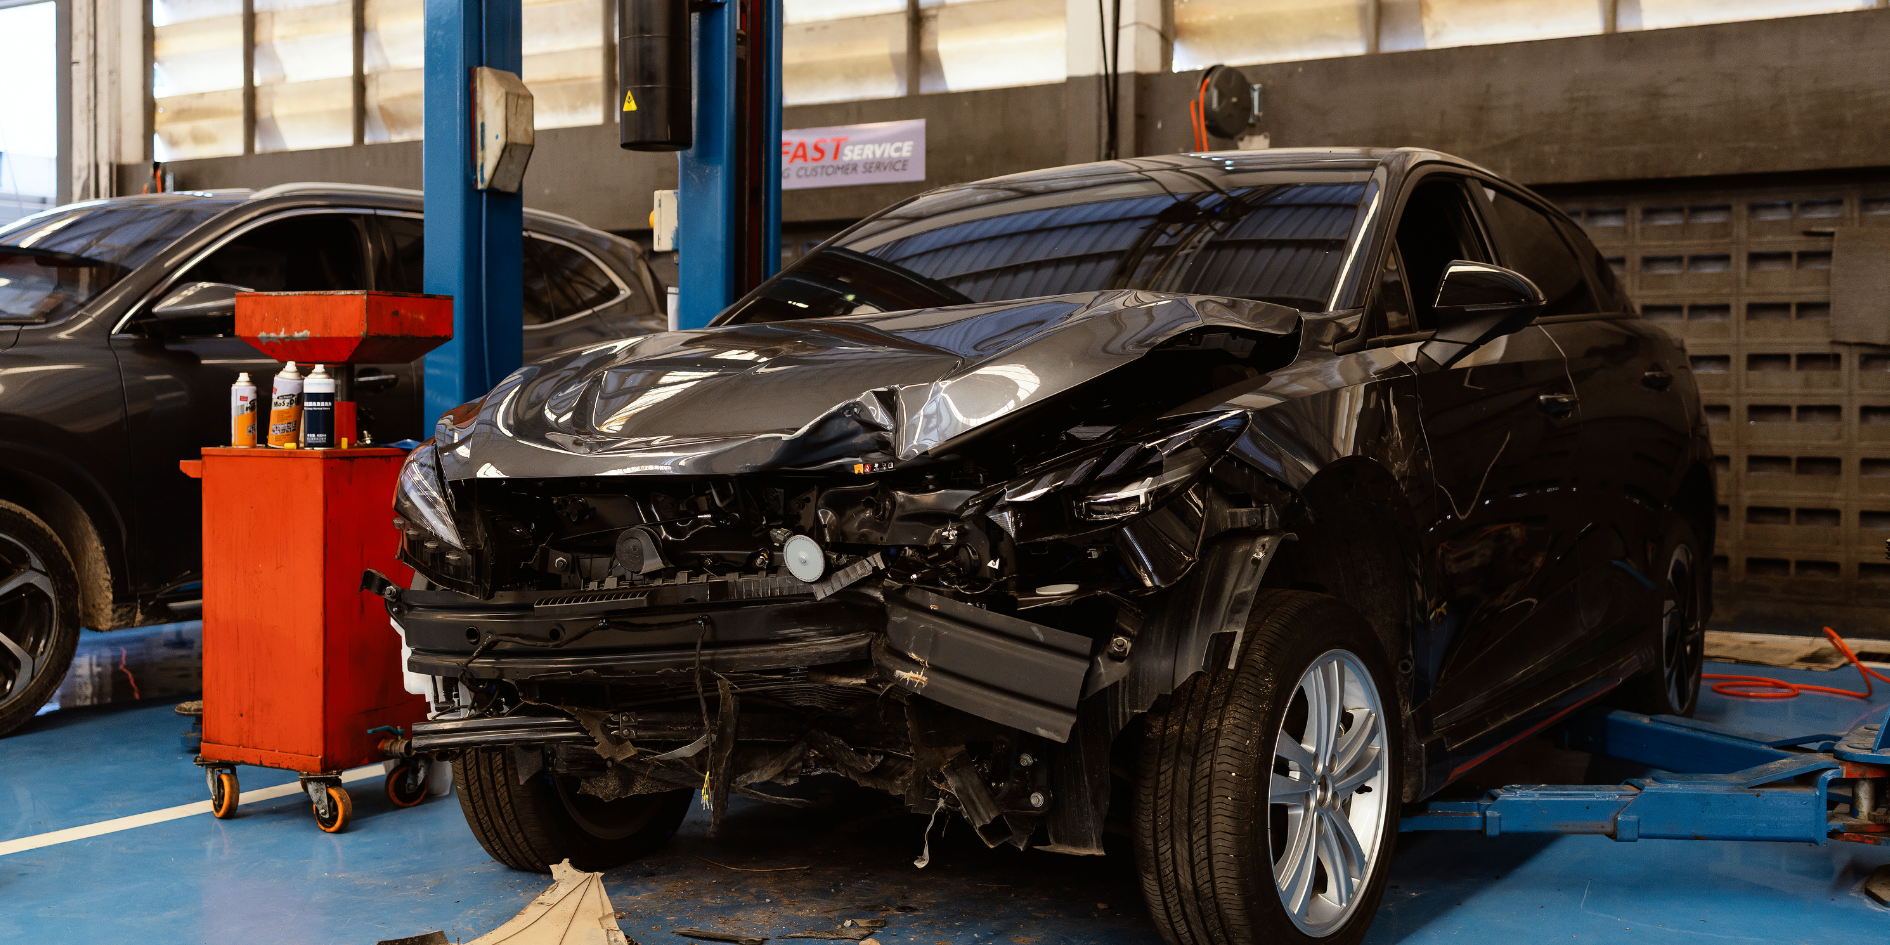
After an accident, the damage you can see isn’t always the only damage your vehicle sustained. A damaged bumper, dented quarter panel, or broken headlight may be obvious, but the impact can also affect structural components underneath the vehicle’s exterior. At Dealership Autoplex Collision Center (DACC) , we believe a proper collision repair is about more than making a vehicle look good again. It’s about identifying and addressing the damage that may be hidden underneath. What Is Structural Damage? Modern vehicles are designed with structural components that help support the vehicle and manage crash forces. Depending on the location and severity of an impact, a collision can potentially affect areas such as: Frame or unibody components Structural rails Suspension mounting points Body alignment Doors and panels Wheel alignment Bumpers and reinforcement components Even an accident that doesn’t appear severe from the outside can sometimes cause damage behind exterior panels.
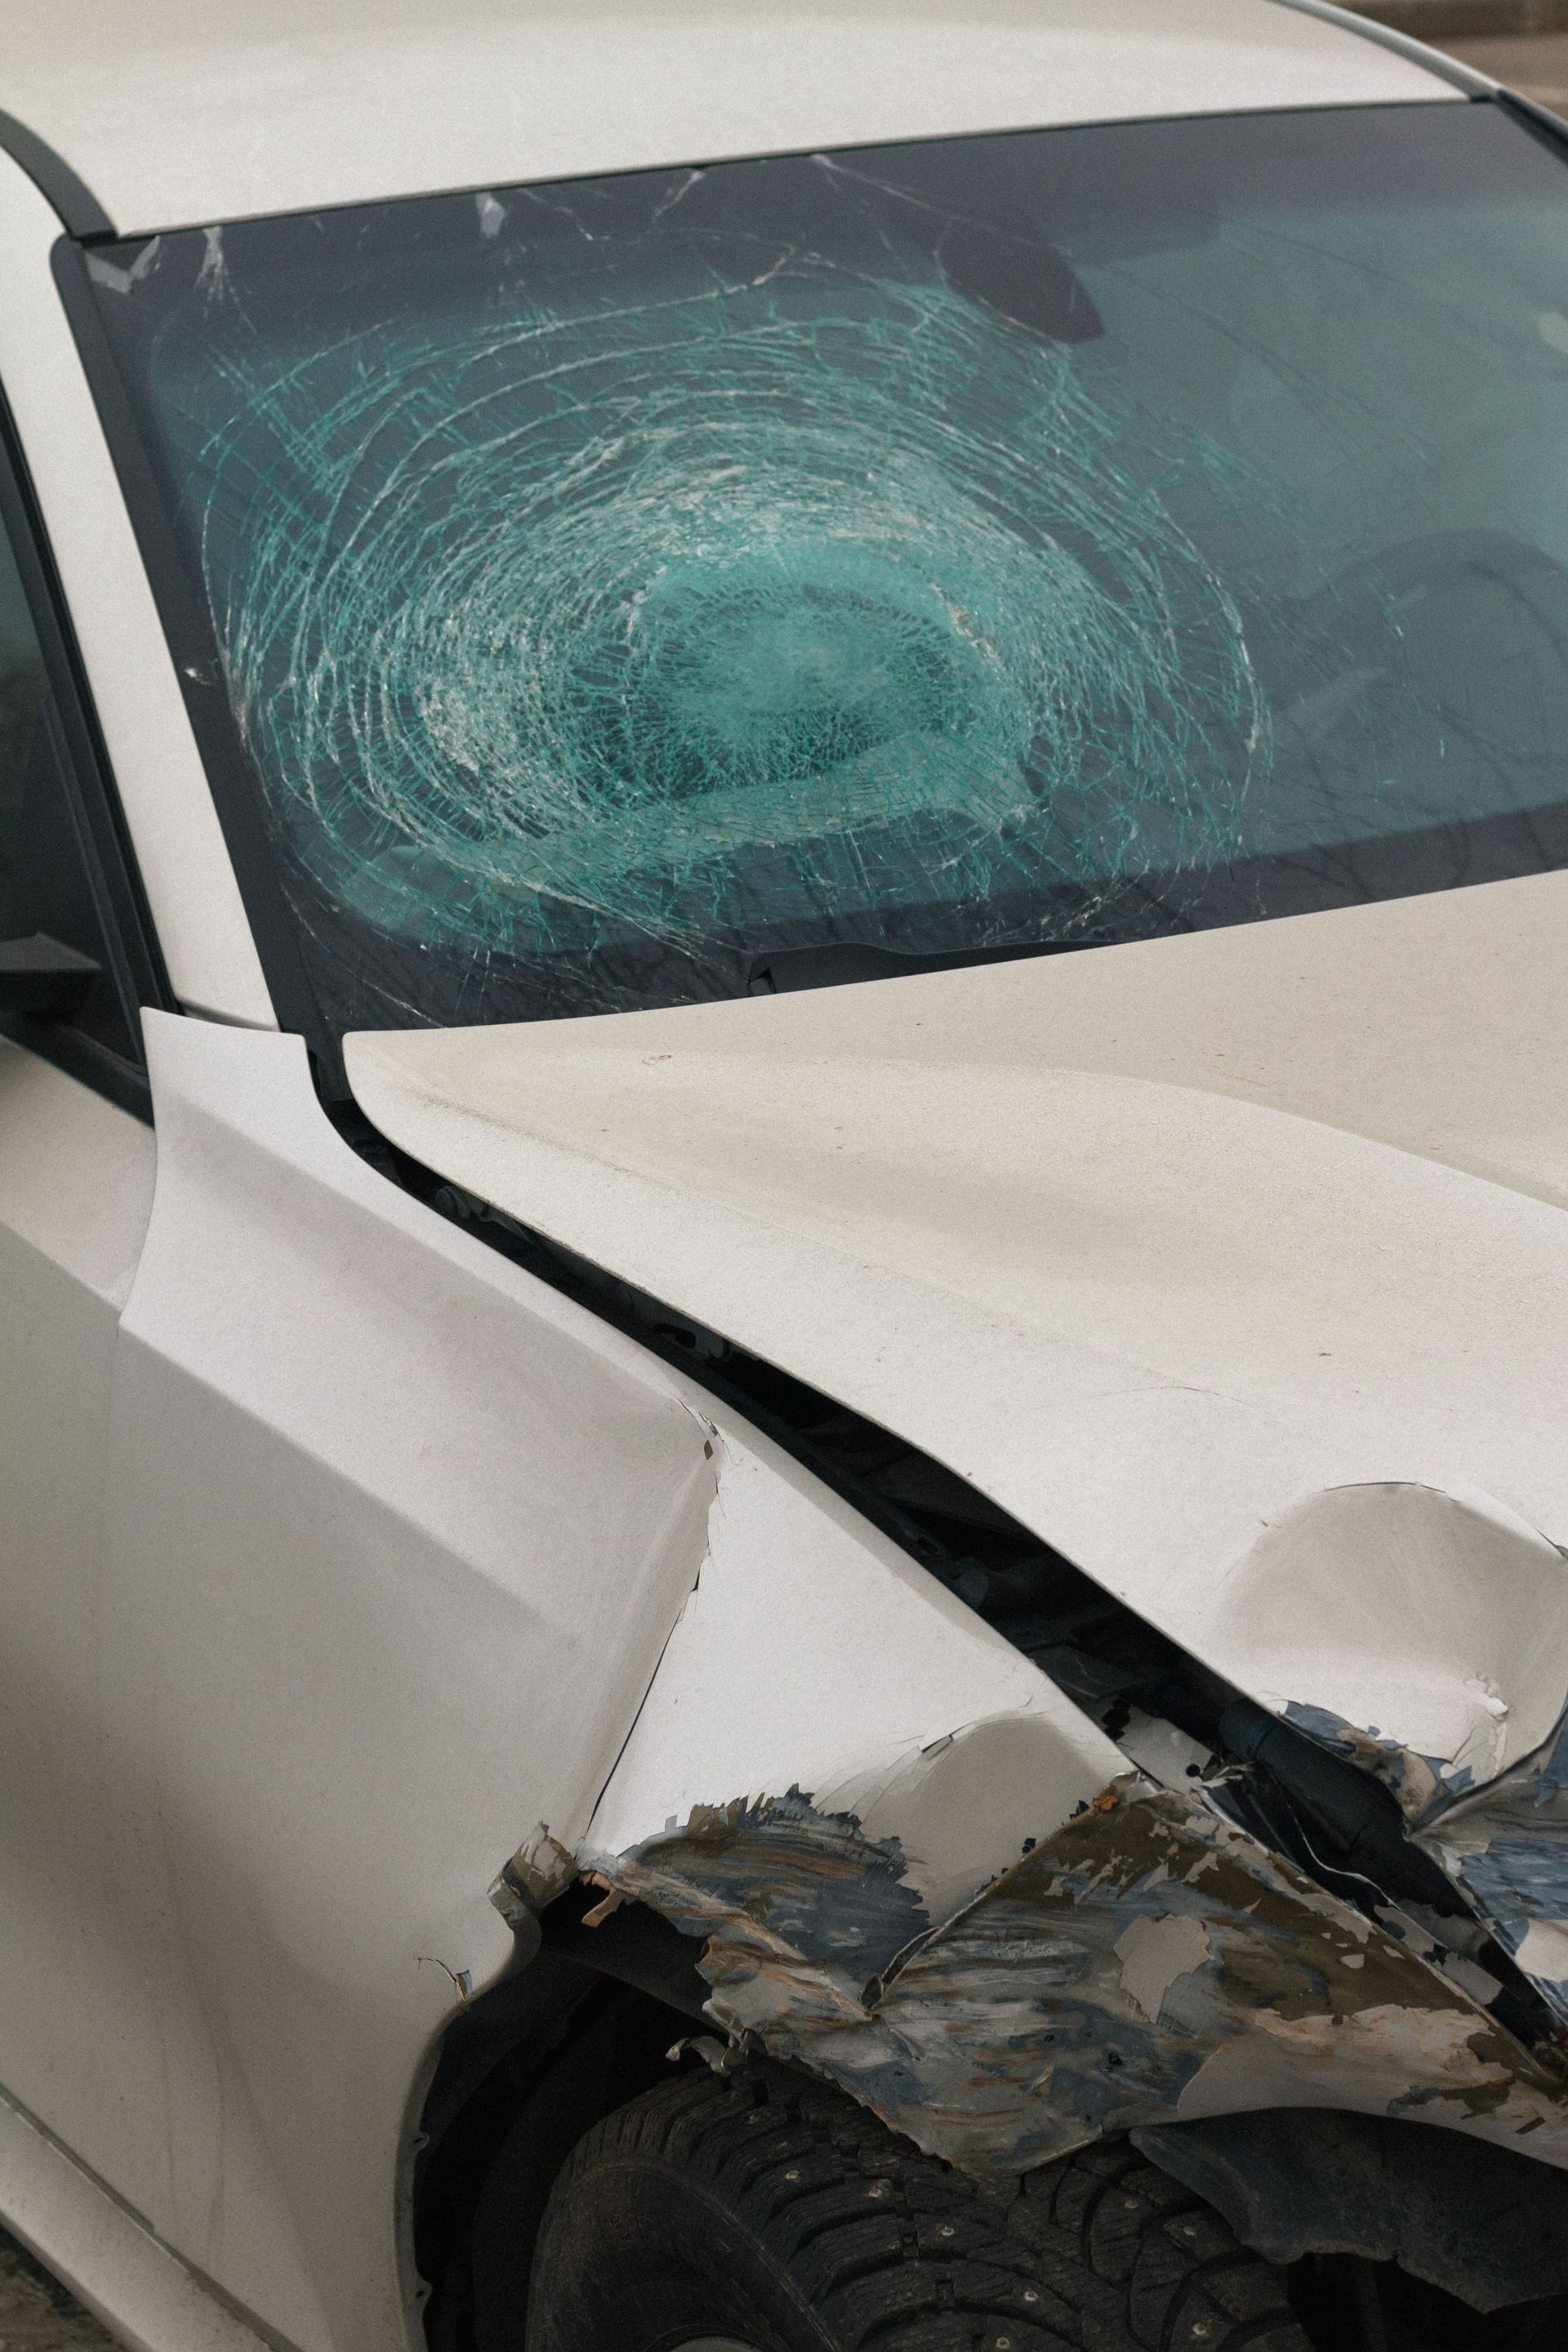
After a car accident, there are a lot of decisions to make. Between filing an insurance claim, arranging transportation, and getting your vehicle repaired, the process can quickly become overwhelming. One common question we hear at Dealership Autoplex Collision Center (DACC) is: “Do I have to use the collision repair shop my insurance company recommends?” In Texas, you generally have the right to choose the repair facility you want to handle your vehicle. Your Insurance Company May Recommend a Shop After you file a claim, your insurance company may provide a list of repair facilities or recommend one of its preferred shops. While these recommendations can be convenient, you are not necessarily required to choose a shop simply because it was suggested by the insurance company. Your vehicle is an important investment, and you should feel comfortable with the facility performing the repairs. What Should You Look for in a Collision Repair Shop? When choosing a collision center, consider more than just how quickly the shop can get your vehicle in. Look for a facility that provides: Experienced collision repair technicians Proper structural and body repairs Professional paint matching and refinishing Clear communication throughout the repair process Assistance working with insurance companies Quality-control inspections before the vehicle is returned Help coordinating rental transportation when needed A quality collision repair should restore more than the appearance of your vehicle. The goal is to properly repair the damage and return the vehicle to you safely and professionally.
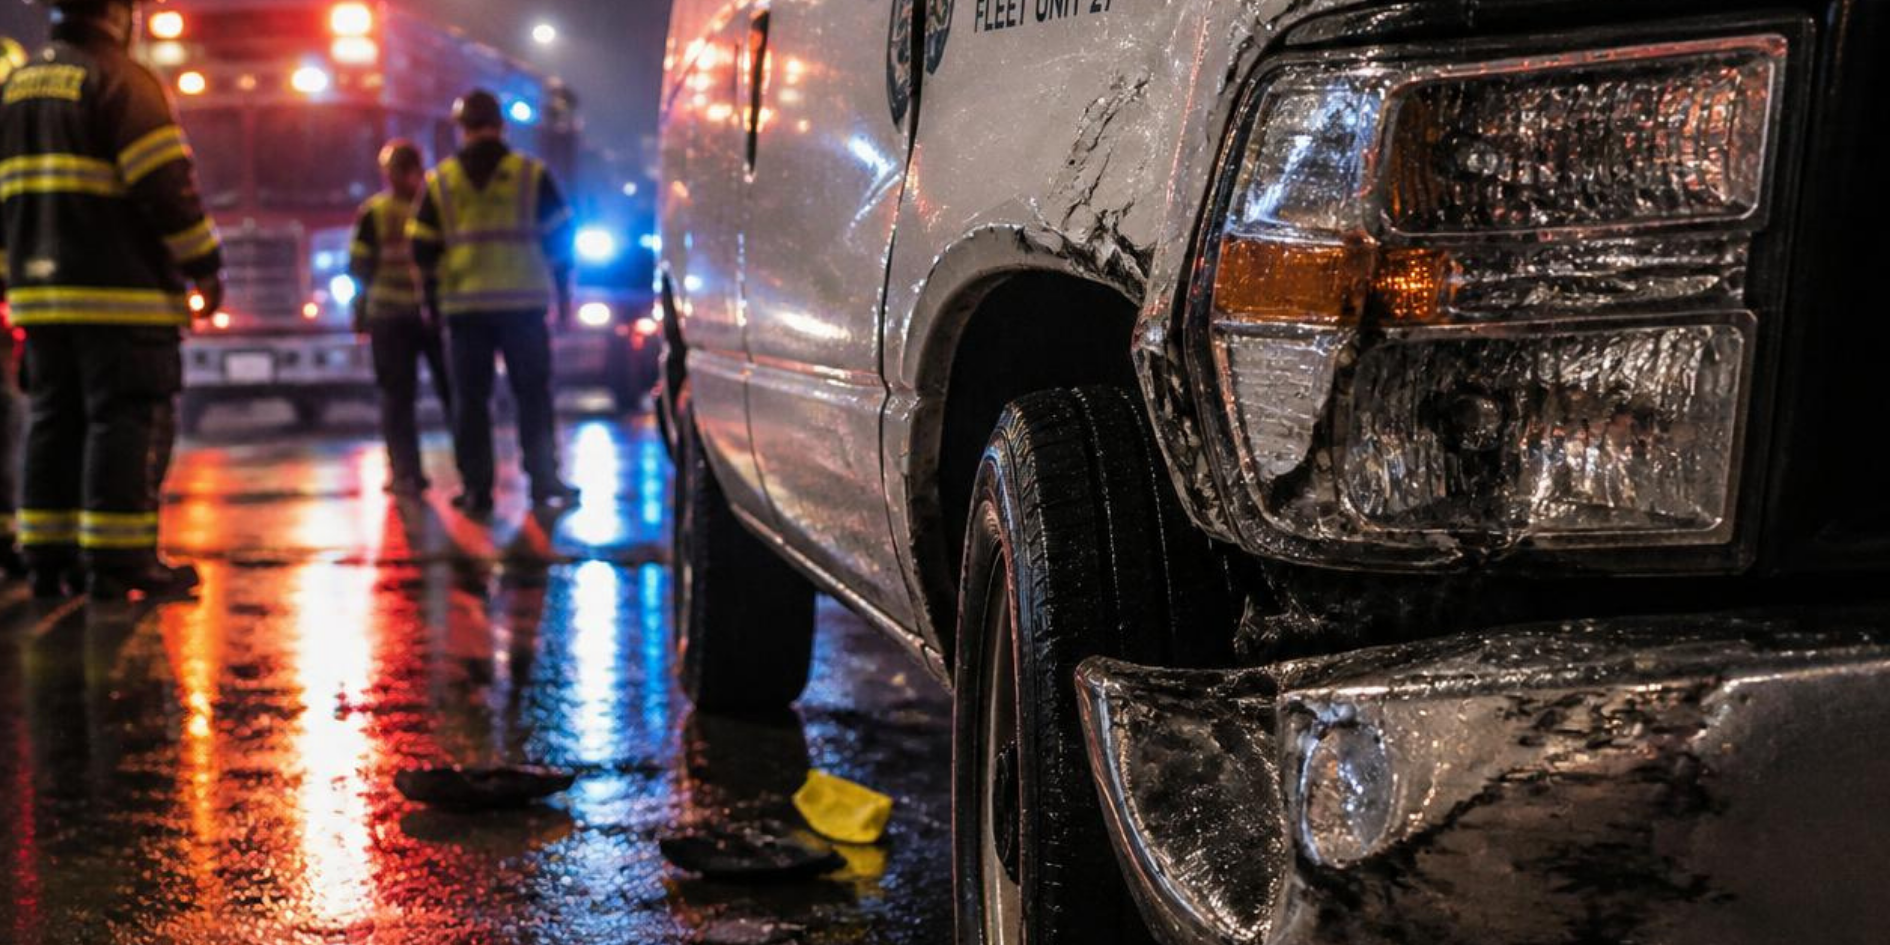
Today’s vehicles are equipped with more technology than ever before. Cameras, radar sensors, parking sensors, lane-assist systems, and automatic emergency braking can all be affected by a collision—even when the damage appears minor. That’s why modern collision repair involves much more than repairing dents and replacing damaged parts. What Is ADAS? ADAS stands for Advanced Driver Assistance Systems. Depending on your vehicle, these systems may include: Forward collision warning Automatic emergency braking Lane departure warning Lane-keeping assistance Adaptive cruise control Blind-spot monitoring Parking assistance Surround-view or backup cameras Many of these features rely on cameras and sensors positioned throughout the vehicle.